Saturday, May 14, 2011

Make Your Own Counting Beads

Step by Step instructions on how to make your own counting beads!
You can also use this as an art project to make a class set.

What you'll need for each string of beads:
- 100 pony beads from a craft or department store (the holes inside the beads need to be big enough to string on 1/4" thick elastic)
- 3 feet of 1/4" thick elastic from a craft or fabric store
- scissors to cut the elastic

Steps:
1. Tie a knot in one end of the elastic so the beads don't slip off.

2. Start stringing beads onto the elastic.  I chose to string the beads on in groups of ten, changing colours with each group.  You may choose to use all of the same colour.
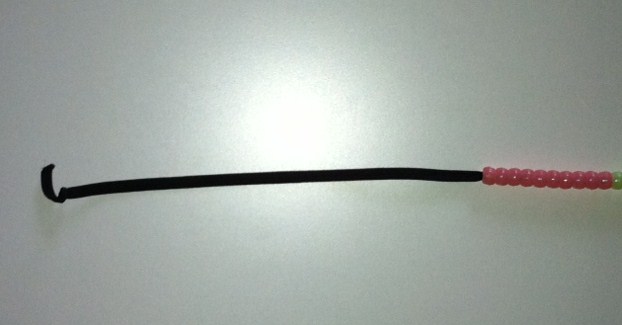
 
3. Leave approximately 8 inches of elastic at the end before tying your second knot so that the beads have room to slide back and forth along the elastic.


Examples of their use:
Children can use the counting beads to practice counting and addition.  In this picture, students were asked to use their beads to show 5 + 2


When they push the beads together, they can now count the 7 beads to discover 5 + 2 = 7.


Students can also experiment with division (and multiplication).  In this example we are going to ask the student to divide these 12 beads in 4 equal groups.  They have now discovered that 12/4 = 3.


Try to look for beads similar to these.  Easy to string (even with little fingers)  ;)

Theoretical Probability Ready To Go Activity With Dice

\

This short (and relatively simple) activity prompts students to discover that the sum of theoretical probabilities is equal to 1.  Using the dice and learning by discovery will hopefully interest students and engage them in your lesson.

Download the pdf document here
(for free of course)


If you need dice, Amazon has a bucket of 100 for $12.99.  Not bad if you will be using them year after year for different activities .

Wednesday, May 11, 2011

Beautiful Dance Moves

One of my favourite math comics that I've come across on the net!
I'm not sure who created it, but if you know, leave me a comment so I can properly source it.

Monday, May 9, 2011

Exponent Rules Review and Practice


I created this Exponent Rules Review Worksheet to work through with the students on an overhead.  You can download it by clicking the link above. 

TIP - Print it off on bright paper so that it will be easy to find when it's time to study for the test or exam!


Exponent Rules are covered in:
MPM1D
MPM2D
MBF3C
MCF3M

Sunday, May 1, 2011

Make your own class set of clocks!

Buying a class set of clocks can be expensive.  Why buy them when you can easily have your class make their own clocks in a matter of minutes!  You can even send copies home so they can make clocks with their parents and practice telling time at home.

Here's what you'll need:

PAPER - I prefer to use cardstock although this may not go through some copiers.  You can also print on regular white copy paper and back them on colored construction paper for added strength.
BRADS - Brads will allow you to fasten the arrow onto the clock face yet be able to turn them as well!
CLOCK TEMPLATE - I've made a clock template for you to use with 2 on a page.  Download the template for free here.
SCISSORS
GLUE (Only necessary if you plan on backing them on construction paper).  

INSTRUCTIONS
- Copy the clock template and cut in half so each student receives one clock and two arrows.
- Have students cut out the clock face and both arrows.
- Back the clock face onto construction paper if required.  Hint - glue the clock face onto a square piece of construction paper, then have students cut around it!
- Fasten the arrows at their base onto the middle of the clock face (they may need your help poking the brad through the clock).
- Voila, the students have just created their own manipulative to practice telling time!